The Baneblade is the largest ground based piece of armour in the Imperial Guard's inventory and is also one of the largest models from Games Workshop (some of the Titan models are bigger still and their model of the Mumakil from 'The Lord of the Rings' is even bigger!!).
The Baneblade is big enough to warrant painting and constructing in a number of step:

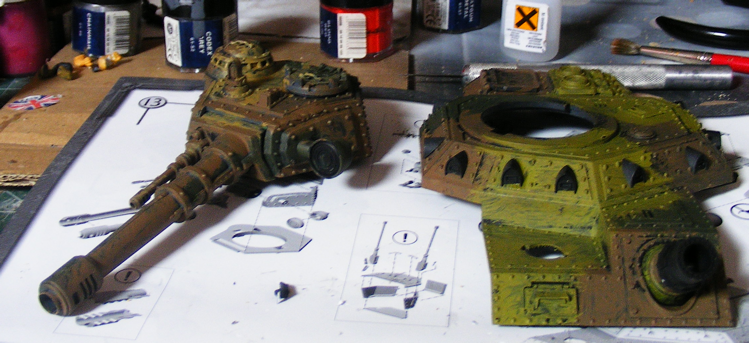
The main weapon's turret was constructed from three pieces assembled round the base, with the main gun and co-axial machine gun making up the front on a movable swivel. The main upper armour section on the right was a single piece, with the stub of the demolisher cannon on it's ball mounting assembled from the rear and locked into place to allow minimal up and down, left and right movement. The black arches are a series of sensors surrounding the turret. I constructed the kit so that it was completely locked down, with no crew on view. On assembly, the turret slots into place on the upper section (after the latter has been stuck to the lower chassis)
All sections of the Baneblade were painted with a mixture of Catchecan Green, Camo Green, Graveyard Earth and Desert Sand. In general these were applied using foam inserts from the individual metal model blister packs via a splodge of paint in my mixing plate - though the colours were not actually mixed until applied to the model (my local Games Workshop shop did very well with paints from this and other recent armour projects :-)).
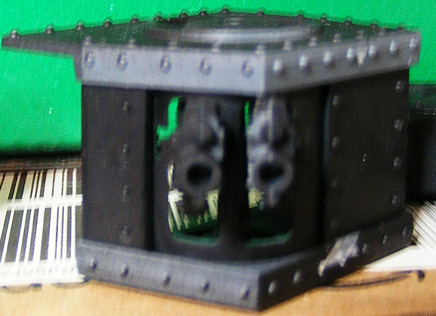
The Baneblade also has a couple of sponson mounted weapons - either a pair of linked laser or bolters, selectable on construction:

This shows the unpainted sponson. There are three locations to which these can be placed; either right at the front of the vehicle; in the middle of the vehicle under the main turret; or right at the back. I opted to go for the rear mounting though I might consider placing them at the front if I make another such kit. Somehow, putting them in the middle so they fall under the main turret seems just a trifle unbalanced.
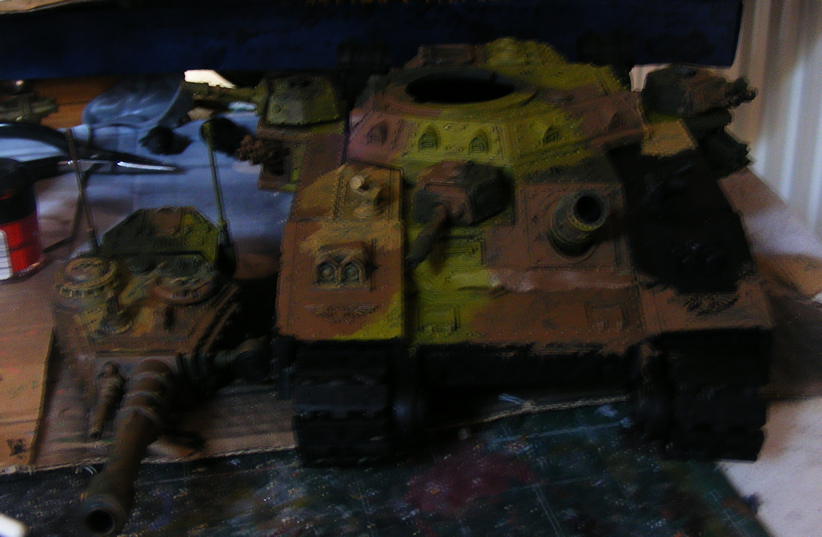
The major problem that I had with this model came with the construction of the tracks and their containing assembly. This model is large enough to allow for individual wheels between the two plates of the hull chassis. I left the assembled wheels-and-plates pieces to set before attaching the pieces of track. In hindsight, this was a...mistake as I had to crack the glued pieces apart in order to accommodate the sections of track. Fitting the sections of track together so there were minimal gaps was interesting in the Chinese sense - especially as the support sections for the forward wheels didn't appear to have gone on quite straight - identifying just how they were supposed to fit onto the rest of the model required a bit of trial and error, even after they were stuck on. However, finally, I'd got everything stuck in place.
The main hull of the Baneblade consisted of two pieces of plastic that had to be glued together with a couple of pieces of plastic supplied to add additional support across the junction.
The two track sections and the bottom section of the model actually went together brilliantly (slightly tight due to the placing of the wheels, but this is no bad thing). The top section of the model also slipped into place quite well as well - a slight gap was filled in with Milliput filler.

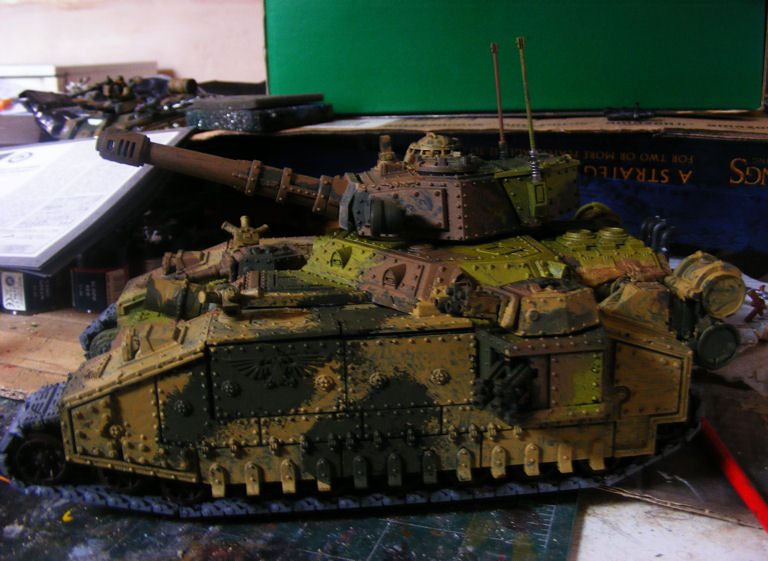
The model is virtually complete here with the sponson weaponary and forward turret added. As with the main turret, the forward turret clips into place and can be removed fairly easily. The main turret was off at this stage so I could get at the underside to paint that. As you can see from the picture, the main turret has had the optional communications module added, making this vehicle a central command node on any battlefield it finds itself on. Incidently, as you can also see the colours of the camouflage scheme intermix at the boundaries of the colours, which is unlike the sharper edged approach applied by the Games Workshop modellers. Which approach you take is a matter of preference - I just prefer it as above :-).

The completed model with the main weapons turret added to the hull.
Once the main turret had been added a small amount of additional camouflaging was added to ensure that the various sections looked as if they had been painted as a single module rather than several.
There is no denying that this is amongst the most complicated models offered by Games Workshop with about 250 different pieces allowing for the construction of both the Baneblade or the slightly shorter ranged infantry-support Hellhammer so its not a project to start your modelling career with! An irritation that I had with this, and a number of the other vehicle kits was in identifying the various pieces from just the pictures in the plan - a system of numbering the more obscure (or similar looking) pieces would have been welcome, especially as you are looking over seven different sprues. The plans weren't always that clear as to where and how pieces actually fitted together either.
Now my main problem is going to be finding a spot to display it!
Although you could probably just about get away with using one of these monsters in a regular WK40K session, you will generally see them used in Apocalypse scenarios, where whole armies, hundreds of models, are engaged in multi-table combat and you can be confronted with several Baneblades attacking!
Return to War Hammer models page here